11 August 2011

Stawberry Jam

Want to know how to make strawberry jam minus the pectin? All you need is 2 lbs of Strawberries (fresh or frozen, I used frozen), 4 cups of white sugar, 1/4 cup of lemon juice and two jars. I had a 1 lb bag of frozen strawberries in my freezer so I just cut the recipe in half so I will tell you the measurements I used plus what the original recipe calls for.

Strawberry Jam
  • 2 lbs fresh strawberries (I used a 1 lb bag of frozen strawberries)
  • 4 cups white sugar (I used one and 1/2 cups of sugar for the 1 lb bag)
  • 1/4 cup of lemon juice (I used 1/8 cup)


I started out by letting my strawberries thaw for a bit. Also, place a plate in the freezer. We will be using this for later to test if the jelly is ready for canning. Once the strawberries have thawed a bit I put them in a food processor.
It chopped them up pretty well but I still wasn't happy with it so I used my potato masher. You could also use a blender instead of a food processor. If your following the original recipe and have 2 lbs of strawberries you should end up with 4 cups of strawberry puree. I ended up with 2 and 1/2 cups of puree from 1 lb.
Next, you want to take your jars and boil them in water along with their caps. You need to sterilize the jars to put the jelly in and if you do this you also can store your jelly for months in the refrigerator without it going bad. It is very important for you to do this step because if you end up touching the insides of your jar mold may grow.

Place all the ingredients in a heavy bottomed sauce pan and slowly bring to a boil. I increased the temperature a bit every 5 minutes until it was at a rolling boil. Stir your strawberries constantly so they do not burn to the bottom of the pan.

You want to keep raising the temperature until it reaches 220F. Once it does let it boil for 10 minutes while you constantly stir so it does not burn or boil over... I checked the temp wearing a heat safe glove because it gets VERY hot...
 (not quite there...)

Here is my very handsome helper stirring away while I was preparing something else...

To test if the jelly is ready take your plate out of the freezer and put a little amount on the plate. Place the plate in the freezer for one minute. Drag your finger through the jelly (which will look like liquid) and if it doesn't try to run back together it is ready to be canned.
Its ready!

Now it is ready to can. First set up a bowl of cold water to stick your jelly in and put it off to the side. Be careful during the canning part. I left my jars in the water and used my glove and tongs to pull it out right before BUT if you want you can leave it drying upside down over a clean towel before hand just don't handle the inside of the jar with your fingers. Pour the strawberry jelly into the jar and leave about 1/4 - 1/2 of space in it and screw the lid on tight. Immediately place it upside down inside the cold water. This helps seal the jar. Leave in like this for at least 10 minutes. I left mine in until it cooled and I could place it in the refrigerator. Leave it alone for 48 hours. After that it should be set and ready to eat!


09 August 2011

Making your own bread without a bread machine

I don't own a bread machine and I don't have the money to invest in one. What I DO have though is the ingredients in the house to make bread! If you have the time I think it is well worth the time to make. If you haven't noticed yet I like to know exactly what is in everything I eat. I don't want the basic boring box foods. Cooking for me is a passion and can be great bonding time for you and your kids. Especially this recipe when you get to the kneading part and the dough punching part! I also like making my bread because I can tweak it however I want. I can add cinnamon for bread to eat for breakfast, I can leave it plain to make my kid's peanut butter and jelly sandwiches at lunch and with the consistency of homemade bread it is GREAT as garlic bread or along side your plate of spaghetti for all that extra sauce. :) This recipe I use is great and turns out perfect but you have to remember when working with yeast that you need to be pretty precise with water temperature. Ingredient wise you should try to stay exact too but nothing will mess it up like not having your water warm enough or even too warm. If your water is too hot you will kill the yeast and if you don't make it hot enough it won't activate. OK so hopefully now I haven't scared you away! It is easy! I promise!

White Bread minus the Bread Machine
  • Thermometer (I used a meat thermometers)
  • Three loaf pans 
  • Two tablespoons of Yeast
  • Two cups water 
  • Two tablespoons vegetable oil
  • Two teaspoons of salt
  • Two tablespoons of sugar
  • Five cups of BREAD flour, divide them apart. Two to make a sponge and three to add in later on.
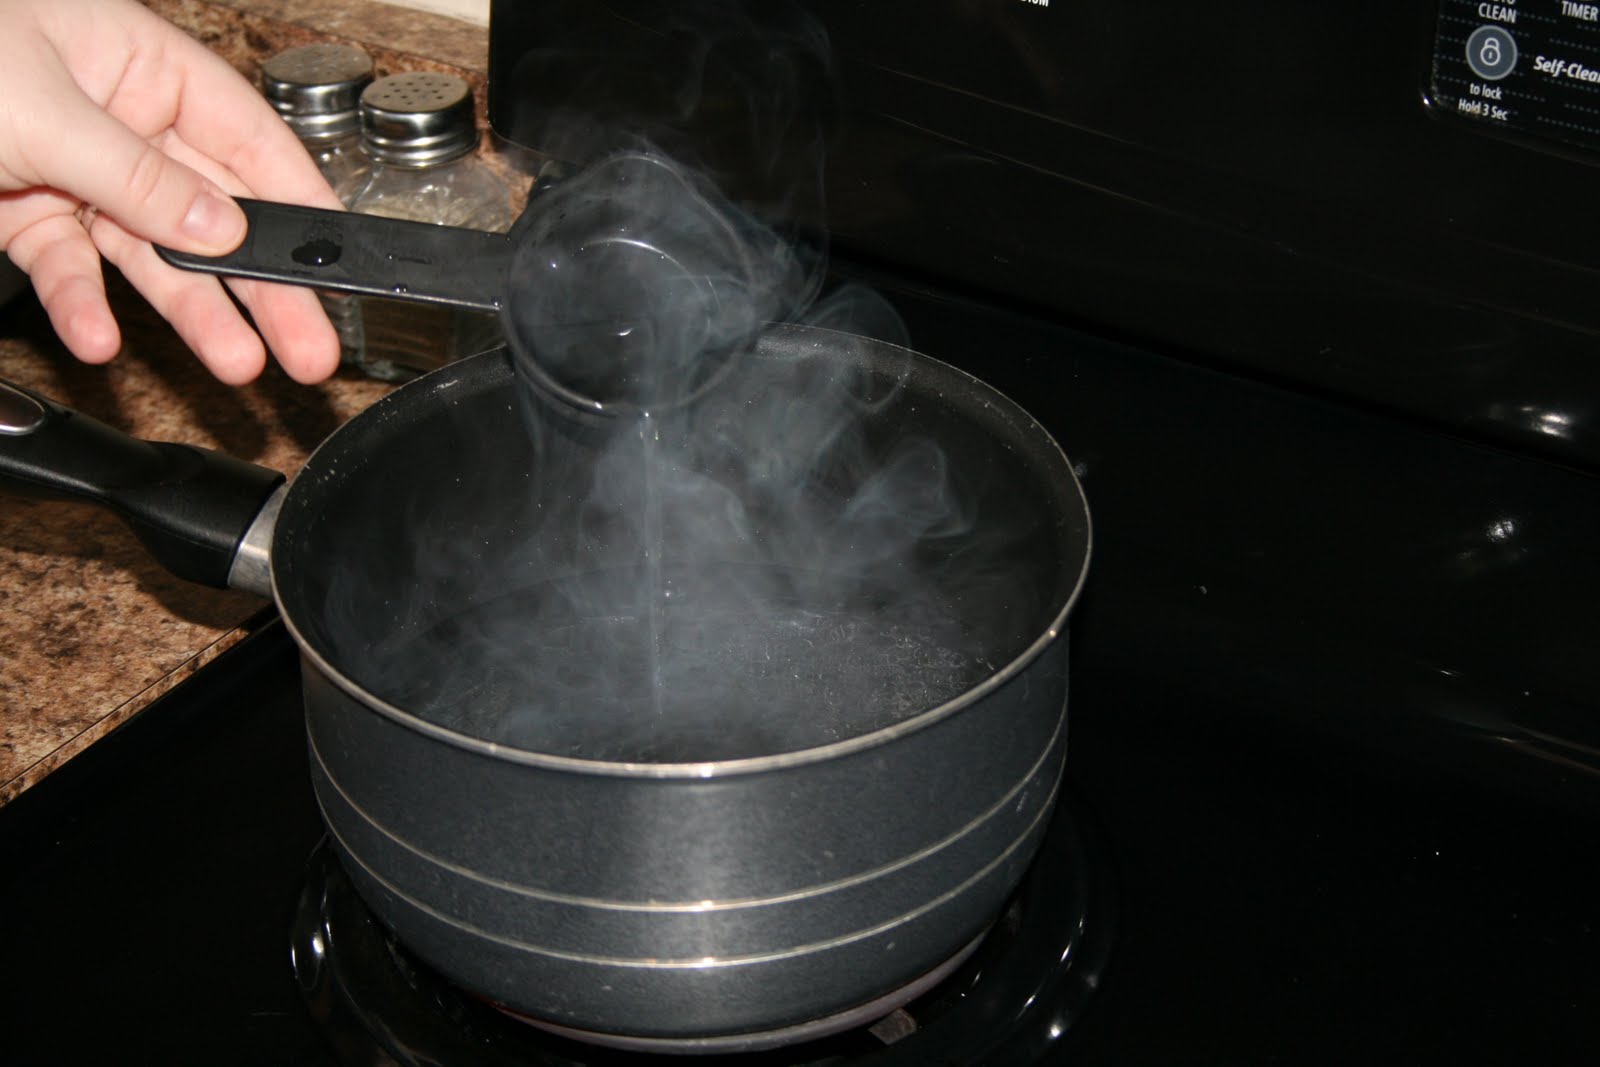
Start by putting your two cups water in a small pan on the stove. Heat it up. Once you start noticing it is getting a little hot stick your thermomiter in and check to make sure it is between 95F - 115F. Once it is that hot you can pull it off and make the "sponge".
A sponge is created to activate the yeast. Pour your two cups hot water into a bowl and two cups of the bread flour. Stir. Once mixed add the yeast, sugar, oil, salt and stir again. Once it is properly mixed let it sit for 10 minutes.
After about 10 minutes your mixture should be bubbly looking, like this:
After the 10 minutes and your mixture is now bubbly you can add the next three cups of bread flour. Stir. Once it becomes too hard to stir anymore take it out and place it on a clean counter-top pre-coated with a small amount of flour (you do this so it does not stick).
Knead your bread for 10 minutes. If you do not know how to knead bread here is a good video for you to watch: how to knead dough
Once you are done kneading put the dough back in the bowl. Take a slightly damp dish towel and cover the dough. Turn on your oven to pre-heat it to 375F. I stick my bowl then on top of the oven while it is warm/preheating because it helps the dough rise. Leave it alone for an hour. By the time you go back to check on it the dough should be doubled in size. 
Now punch the dough down! Have fun and pretend its your boss, your husband, whoever the heck annoyed you today and go to town. :P 

Divide it into three parts for the three pans. I used two. One round (to make garlic bread with) and one loaf pan for normal bread.  Spray your pans down and stick your dough in them. 
Place the dough back onto the pre-heated oven and cover with your damp towel again. Let it rise until it reaches the top of the pans like so:
I forgot to take a picture of it on top of the oven before I stuck it in but I opened the door to show you what it should look like when you place it in. Bake for 25 minutes on 375F.
When you pull the loaves out stick them onto a cooling rack. Here is my rigged rack, I used a metal grid that goes into my refrigerator (I think, we don't use it) and propped it up on the ends with a couple boxes so that the bread could properly cool.
After a few minutes dump the loaves out of the pan to completely cool on the rack.
Yum! Breakfast!

Once cooled you can store your bread in zip-locs or an old bread bag.

Hope you enjoy your bread!

Reminder this recipe can be used more than once on the same bag of flour. With one bag of bread flour you can make this recipe three times or 9 loaves of bread.

FINAL COST BREAKDOWN:

One Bag of bread flour: 2.75, for 5 and 1/2 Cups Bread Flour: $1.23
Activated Yeast: $.75 for 3 packets
2 Cups of Water: Free
2 Teaspoons of Salt: $.04
2 Tablespoons of Vegetable Oil: $.10
2 Tablespoons of Sugar: $.05

Total Cost: $2.17 to make this recipe a total of 3 loaves of bread. Each loaf would cost roughly 0.72 cents to make.

Competitors cost per loaf: $2.45 PER LOAF

PB&J!!!


FINAL REVIEW:
My family loves this bread. It tastes like regular white bread but the crust is a little harder. It reminds me of Italian bread or the consistency of garlic bread. This recipe is also so changeable, you can put whatever you like into to turn it into cinnamon bread, garlic bread, wheat bread... so many possibilities. :) I also don't even think my daughter noticed a difference between breads because she said nothing and she is a VERY picky eater.


08 August 2011

Replacement for Disinfecting Wipes

Have you ever actually read the directions on these things!? I bought a store brand disinfecting wipe but I doubt the directions are much different than the clorox ones. Were you aware that to properly disinfect according to the directions that you had to use "enough" wipes to keep the surface your cleaning wet for 10 minutes? TEN MINUTES!? Using these things they'd dry within a couple of minutes. So, does that mean that they are not properly cleaning my counter-tops? Also it says once you use them on food surfaces that you have to then go back over the area with water. Wow, I did not know... maybe I'm dumb but when I bought these things I thought it was a no brainer situation and that the directions would be as followed... take out wipe, clean surface, let dry, throw away. Geez. On top of the fact that these things never last long in the house they are expensive and dangerous to children and animals according to the packaging. When I clean my little one likes to with me. Granted I've never handed her a wipe but she will usually follow behind me with a wet paper towel playing clean-up. After putting a lot of research into how to replace these I've found that you need to use bleach. Not very child friendly but at least you know what the ingredients in these are! I've found several clever ways to make these and now that my container is empty I'm ready to go! First off, you can use socks, cut up fabric or t-shirt material to keep things reusable but you can also use paper towels. On an earlier post I said I was going to use my old socks but I think the easiest way to go with this would be to experiment with it first using paper towels and then use t-shirt material because it would be much easier to keep using my socks as "gloves" to dip in the solution in the bottle and clean with rather than fully submerge them. If you choose to use the socks by submerging them in the cleaner your hands will probably dry out. I really like wearing mine on my hands because I can really get into things like corners and grout lines with my fingers that way. Anyway, enough babbling here is the recipe:

DISINFECTING WIPES:

2 and a 1/2 cups of water
1/4 cup bleach
a roll of paper towels

Place the 2 and a 1/2 cups water on the stove to boil.

In the mean time take your roll of paper towels preferably the heavy duty kind. Cut the roll in half with a serated knife or if you have one an electric knife.
Once your water has reached a boil pour 1/4 cup of bleach into the water and turn off the stove.
Put the paper towels into the container you are using (I used my old wipe container) and place the container into the sink. Slowly and carefully pour the boiling water/bleach mixture over the paper towels.


Once the mixture has been poured in carefully remove the middle cardboard. It should come out easily.
Once done you can put your lid on and you them whenever you feel ready to. I left my container in the sink until it cooled off just in case the plastic might melt. The container held up and did not melt! :)
FINAL REVIEW: I used them right away and they cleaned up the mess I had made in the kitchen very well. The only thing I did not like about these was the strong bleach smell. Maybe once the canister cools down and sits for a bit the smell will calm down too. Overall they seem to clean great.

FINAL COST BREAKDOWN:
One pack of blue shop /car towels (I used these because they are very heavy duty): 4.99. I used half so lets say 2.50. I am sure to save more money you can use any other heavy duty paper towels but I had these around the house and my other paper towels were thinner.
One gallon container of bleach: 1.00. 1/4 cup of the bleach: 0.17 cents
Total: 2.67
The last canister of wipes that I bought cost 3.48 and contained 75 wipes. So, total savings for this is 0.81 cents. Over time if you continue to use these or use cheaper paper towels I'm sure your savings will be more!


*** UPDATE FOR THE FINAL REVIEW*** Once I let the wipes cool off the over powering bleach smell went away, it was still there a bit but it was a normal smell now. I used one of the wipes to clean up my stove after dinner  (splattered vegetable oil) and it cleaned it up no problem. They work great!!!

07 August 2011

Cheap, yummy, low-fat, HOMEMADE potato chips!

Sorry I haven't done made any cleaner recipes in the last few days but my hubby has had the car and has been busy helping some friends move and I was supply-less. Instead today I decided to share with you my favorite recipe for making your own potato chips. All you need is a micro-wave, either olive oil or cooking spray, a potato, a potato peeler and whatever you would like to season them with.
Peel your potato and choose which you would like to use, either cooking spray which will keep your chips low fat or olive oil. Which ever you choose spray or spread generously on the plate (micro-wave safe only).
Once you have the plate coated peel the potato on the broad side like this:
Place all the pieces you peel flat down on the plate and make sure they don't touch. It is ok if they touch a little bit but when they are done you will have to break them apart from each other. This is what your plate should look like:
Spray or sprinkle olive oil on the top of the potato pieces and whatever you choose to season them with. I used olive oil spray and salt.
Once done stick the plate in the mirco-wave for 5 minutes.
Let them cook the entire 5 minutes and when they are done they should look like this:
Continue this process until you use the entire potato. Eventually it will get harder to cut the potato so I flip it to the side and start doing a "shoe string" type cut like this:
I then lay them together in a weave like pattern just because I'm a weirdo, want to use my entire potato and I wanted to make one big super chip.
One large potato when done fills a normal sized bowl with chips.  I had to do this process about 4 times.

FINAL RESULT: If your like me and living on a tight budget "snacks" are not essential and you end up baking a lot of cookies, cakes, brownie ect. Chips happen to be my FAVORITE junk food so this for me is well worth the time it takes to make them. They are very easy and prep to get them on the plate each time is about a minute, its just waiting the five minutes for them to cook. They are DELICIOUS!!! My husband loved them. In fact, I bugged the crap out of him with the camera while he was eating them. He said they taste like pringles to him and that he prefers them over regular chips. With this recipe not only do you get to make them to the way you want them to taste you are knowing and controlling every calorie going into them. Each spray of olive oil is about 5 cal and one potato is about between 77 calories to 258 calories depending on the type and size of potato your using. Also, what I like about this recipe is that once they are gone they are gone and you did not accidentally eat an entire bag of chips. :)


FINAL COST BREAKDOWN:
1-5 lb bag of potatoes: 4.99, I only used one. about .33 cents per potato.
1 can of store brand fat free olive oil spray: 3.99. I can't say how much I used but lets estimate for the heck of it 1/8th of the can. 0.15 cents
Total cost: .48 cents for some very natural fat free chips that taste ultra yummy. :)


ANNNDDDD just for your amusement here is my husband being a creeper over my chips which he loves.